
“ mac电脑m1 arm架构安装虚拟机教程 ”
1、准备一台虚拟机,安装CentOS7
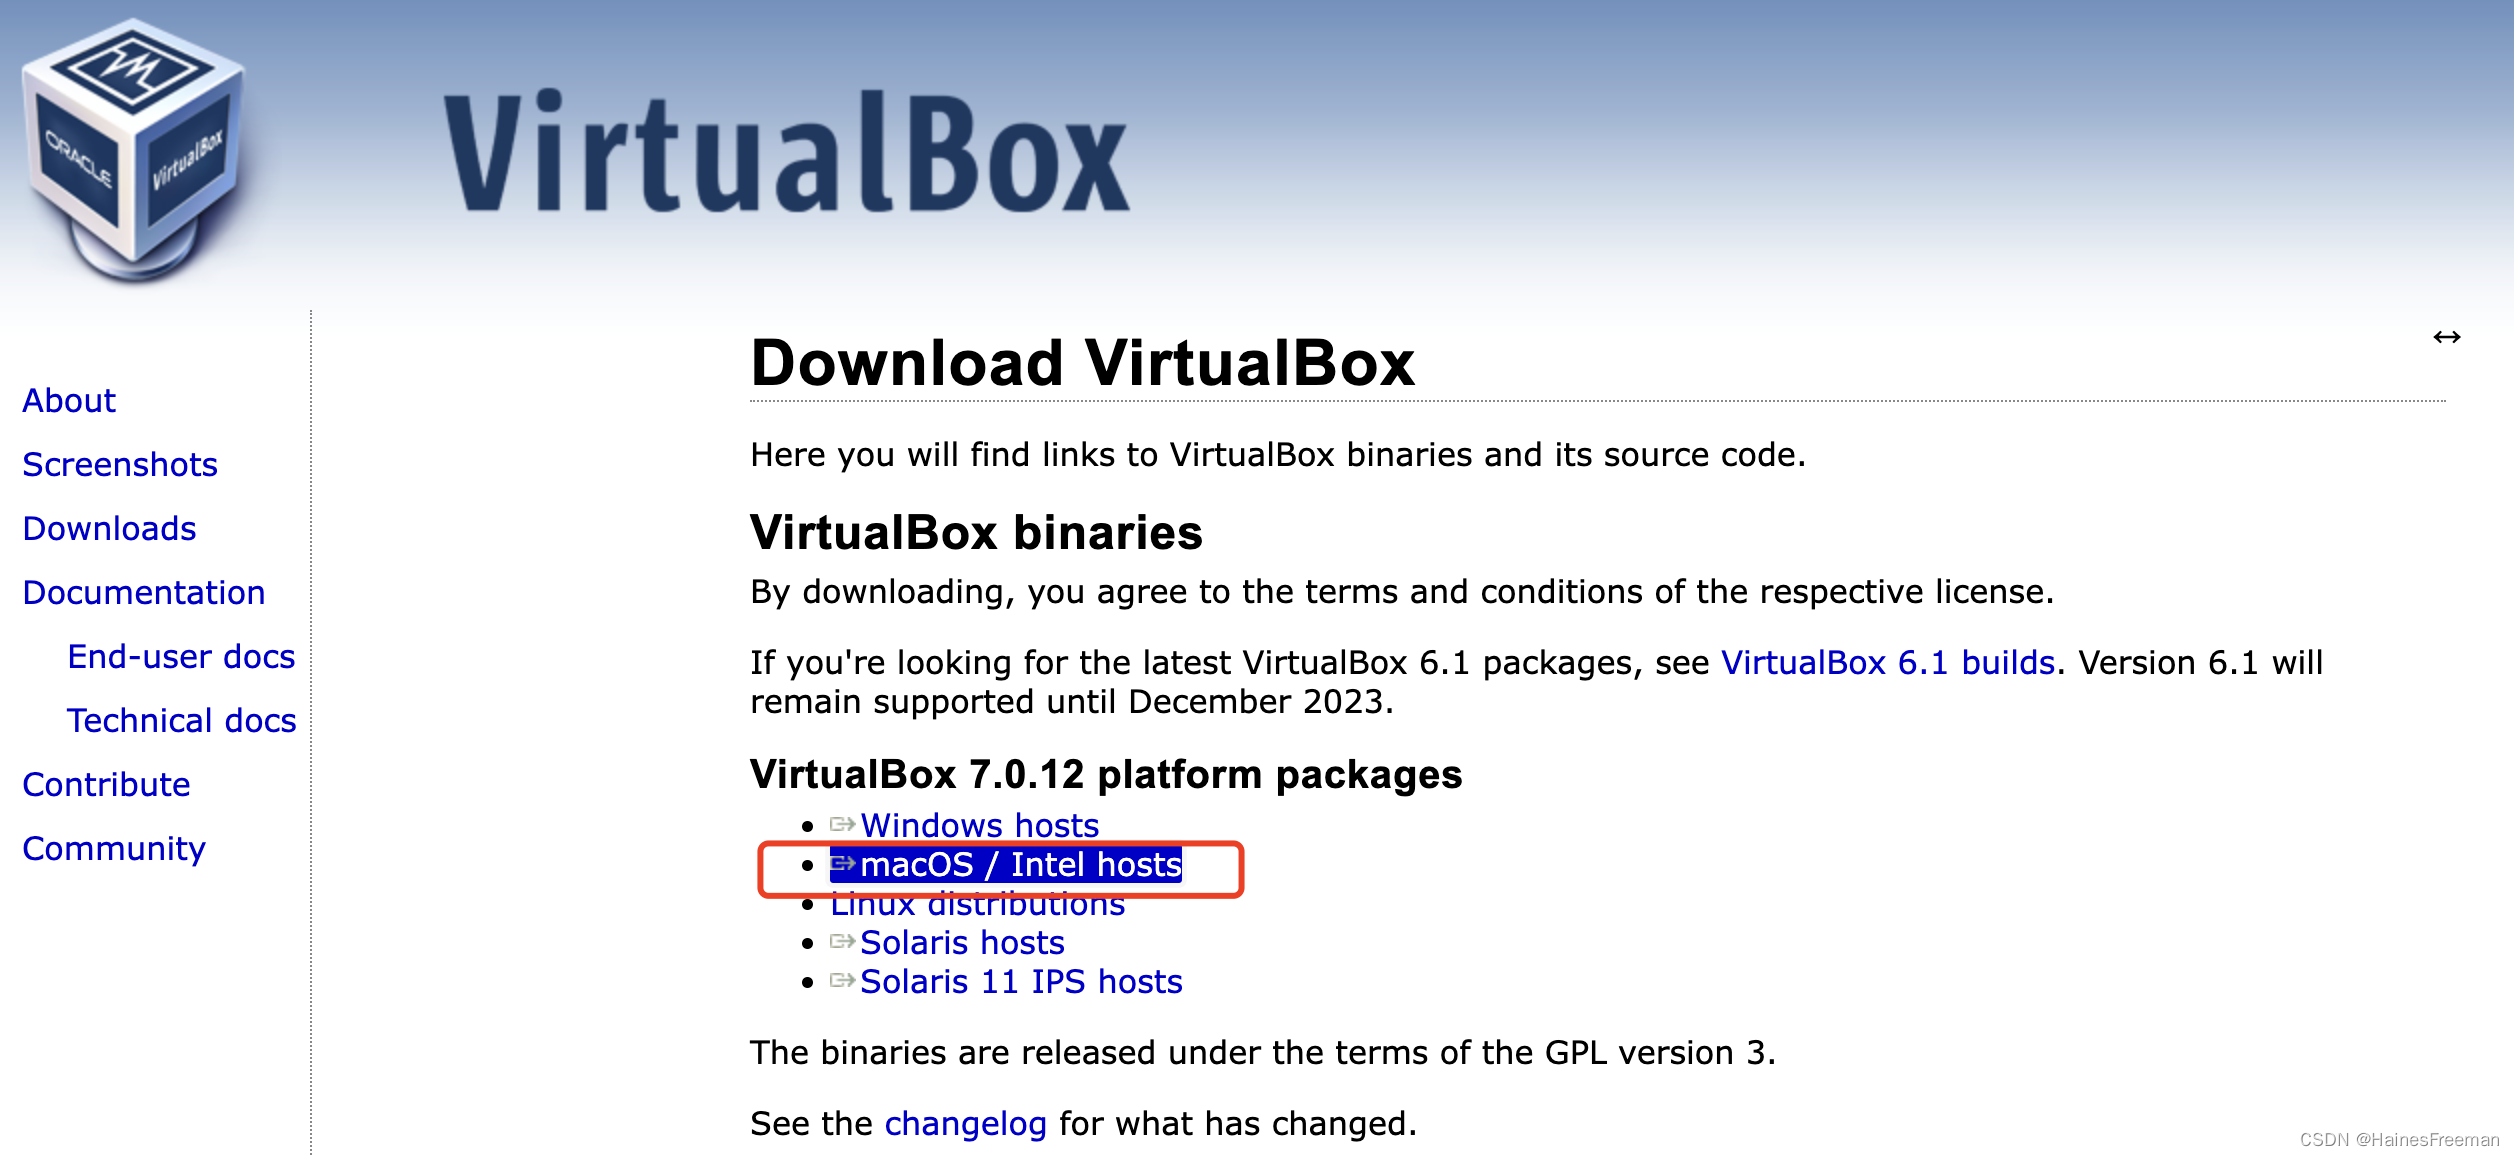
- VirtualBox
VMware 这里我们使用VirtualBox来安装虚拟机,下载地址Downloads Oracle VM VirtualBox
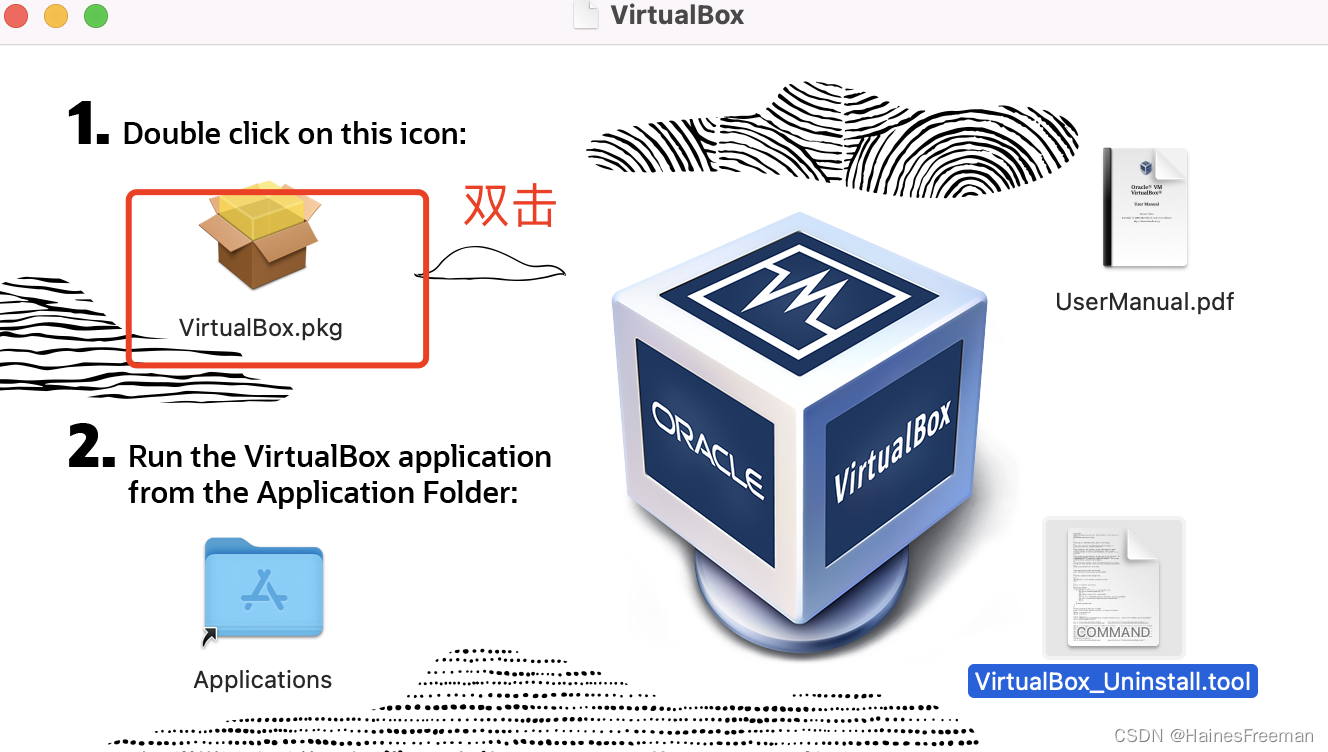
 001 点击安装
 002 报错he installer has detected an unsupported architecture. VirtualBox only runs on the amd64 architecture.
 a. 点击这个文件
 b. 在设置–安全与隐私–通用—仍要打开

 004 这时候,回来点击step1,发现还是报错,之前的操作都白费了
005 找了相关文档,发现还不支持m1,m2,arm架构
a.文档查找
Best Virtual Machine For Mac of 2023 (inc. M1, M2 & M3 Macs)
b.去官网下载test版本
004 这时候,回来点击step1,发现还是报错,之前的操作都白费了
005 找了相关文档,发现还不支持m1,m2,arm架构
a.文档查找
Best Virtual Machine For Mac of 2023 (inc. M1, M2 & M3 Macs)
b.去官网下载test版本 链接Testbuilds Oracle VM VirtualBox
 安装成功截图

2、下载vagrant
2.1 下载
Install | Vagrant | HashiCorp Developer

2.2 安装vagrant
a. 点击下一步,下一步,知道安装成功
 b.测试是否安装成功
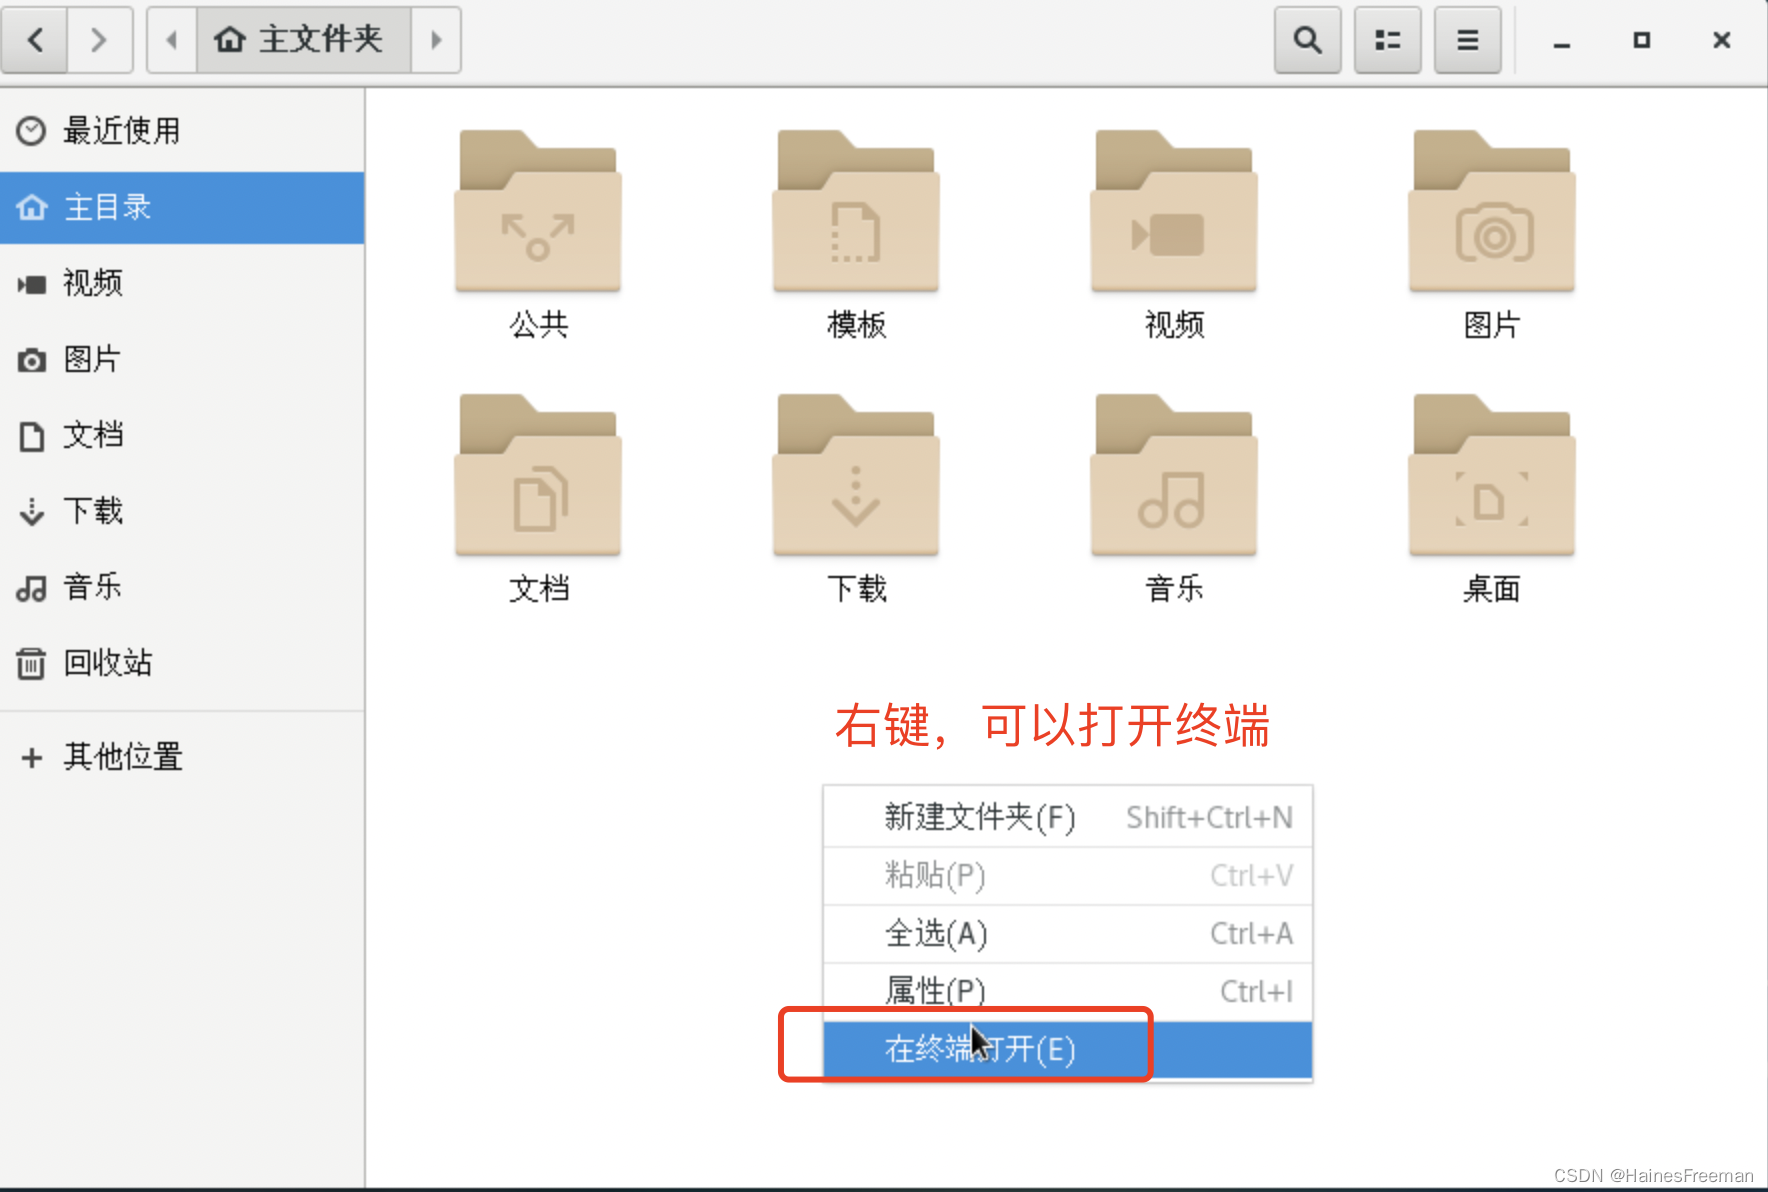
vagrant安装成功以后,并没有gui客户端,需要通过打开终端,测试是否安装成功,运行命令
b.测试是否安装成功
vagrant安装成功以后,并没有gui客户端,需要通过打开终端,测试是否安装成功,运行命令vagrant
3.1 只需要一个命令,即可初始化centOS7系统
Vagrant int cenos/73.2 运行vagrant up,即可启动虚拟机
vagrant up系统root用户的密码是vagrant
3.3 vagrant官方镜像仓库(了解)
vagrant镜像仓库地址Discover Vagrant Boxes - Vagrant Cloud vagrant中有很多做好的镜像仓库,然后使用cmd命令行使用命令进行下载。
 a. 运行 vagrant init centos/7
vagrant init centos/7 b.运行vagrant up 启动虚拟机
vagrant upc.运行 vagrant ssh即可登录上虚拟机VM
vagrant ssh报错及解决
问题macOS M1芯片,运行vagrant up后,报错如下 The guest machine entered an invalid state while waiting for it to boot. Valid states are ‘starting, running’. The machine is in the ‘aborted’ state. Please verify everything is configured properly and try again. If the provider you’re using has a GUI that comes with it, it is often helpful to open that and watch the machine, since the GUI often has more helpful error messages than Vagrant can retrieve. For example, if you’re using VirtualBox, run
vagrant upwhile the VirtualBox GUI is open. The primary issue for this error is that the provider you’re using is not properly configured. This is very rarely a Vagrant issue. 解决—-暂时没找到解决方案—-
—–直接进行步骤4——–
4、使用vmware
下载链接Download VMware Fusion | VMware

4.1 新建

4.2 点击继续
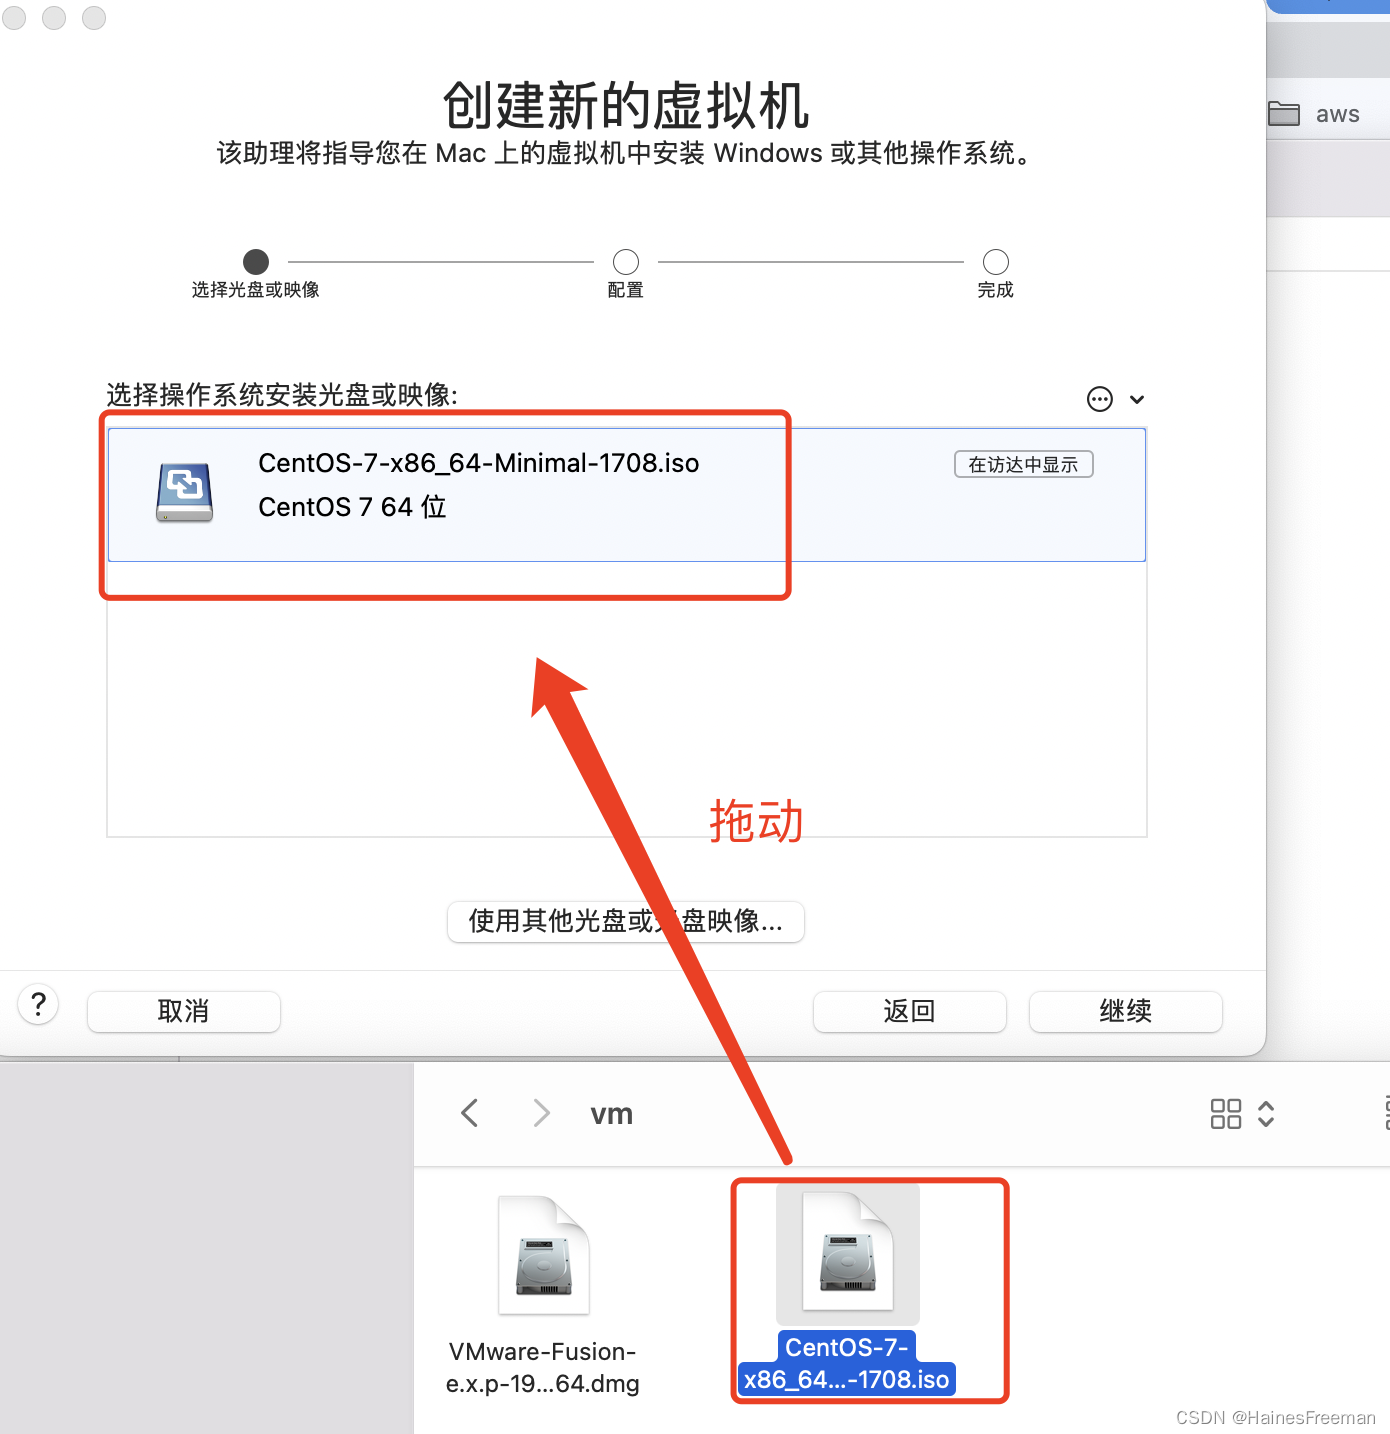
 拖动文件,点击继续
坑!!!注意选择arm架构的iso镜像包,否则在m1芯片上面无法安装!!!不能选x86_64的镜像文件!!!忽略我下面这个图是x86的,我实际用的是arm架构的
拖动文件,点击继续
坑!!!注意选择arm架构的iso镜像包,否则在m1芯片上面无法安装!!!不能选x86_64的镜像文件!!!忽略我下面这个图是x86的,我实际用的是arm架构的


4.4 设置40gb20gb,30gb都可以
4.5 设置网络


4.6 启动

4.7 选择中文


4.13 重启系统


 设置登录mac的用户名和密码
4.14 成功

4.15 远程登录
使用终端ssh登录 格式ssh username@ip 001 输入ip address来查看ip
 002 登录使用以下命令,回车
ssh root@192.168.39.128使用finalshell登录
每日一言
"<!doctype html> <html lang="Zh-cn"> <head> <meta http-equiv="Content-Type" content="text/html; charset=utf-8" /> <meta name="robots" content="noindex,nofollow"> <meta name="viewport" content="width=device-width, initial-scale=1.0, maximum-scale=1.0, user-scalable=no"/> <meta name="renderer" content="webkit"> <title>您请求的文件不存在!</title> <link type="text/css" rel="stylesheet" href="https://www.oick.cn/css/404.css" /> <link rel="shortcut icon" href="http://www.oick.cn/favicon.ico" type="image/x-icon" /> </head> <body> <div id="wrap"> <div> <img src="https://www.oick.cn/imgs/404.png" alt="404" /> </div> <div id="text"> <strong> <span></span> <a href="javascript:history.back()">返回上一页</a> </strong> </div> </div> <div class="animate below"></div> <div class="animate above"></div> </body> </html>"